这篇文章主要是演示生产者集群的搭建与负载均衡,也就是我们支付的服务,我们参照之前搭建的端口为8001的服务cloud-provide-payment,现在我们搭建cloud-provide-payment02服务,端口为7002。
前边的新建和配置的步骤就省略了,具体的步骤可以看前一篇的文章。这里主要就是改一下yml文件中的端口号。如下图:
server:
  port: 8002服务端口
#spring相关配置
spring:
  application:
    name: mcroservice-payment 服务名
  datasource:
    type: com.alibaba.druid.pool.DruidDataSource 当前数据源操作类型
    driver-class-name: org.gjt.mm.mysql.Driver 数据库驱动包
    url: jdbc:mysql://localhost:3306/db01?autoReconnect=true&useUnicode=true&characterEncoding=utf8&zeroDateTimeBehavior=convertToNull&useSSL=false
    username: root
    password: root
#mybatis:配置
mybatis:
  mapperLocations: classpath:dao/*.xml
  type-aliases-package: com.buba.springcloud.pojo    所有pojo别名类所在包
#eureka配置
eureka:
  client:
   表示是否将自己注册进eureka  默认为true
    register-with-eureka: true
   是否从EurekaServer中抓取已有的注册信息,默认为true,单点无所谓,集群必须设置true才能和ribbon使用负载均衡
    fetch-registry: true
    service-url:
     集群配置
      defaultZone: http://eureka7001.com:7001/eureka,http://eureka7002.com:7002/eureka
  instance:
    instance-id: payment8002
    prefer-ip-address: true
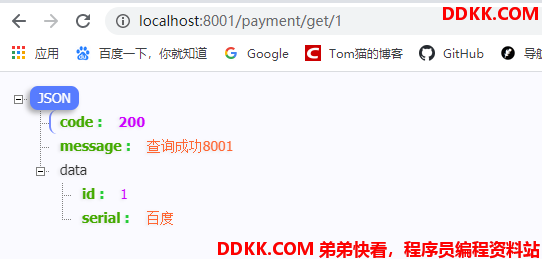
启动7001、7002再启动8001、8002、80项目查看效果,访问localhost:8001/payment/get/1进行自测,成功界面如下:
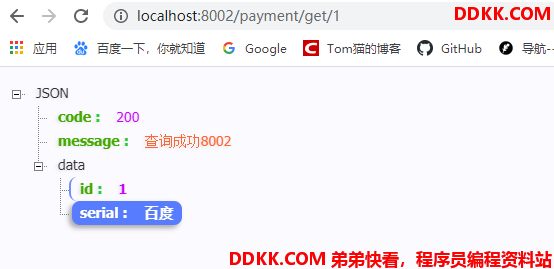
访问localhost:8002/payment/get/1进行自测,成功界面如下:
我们访问http://localhost/consumer/payment/get/1,一直访问都是使用的端口为8001的生产者服务。不会调用到端口为8002的生产者服务。
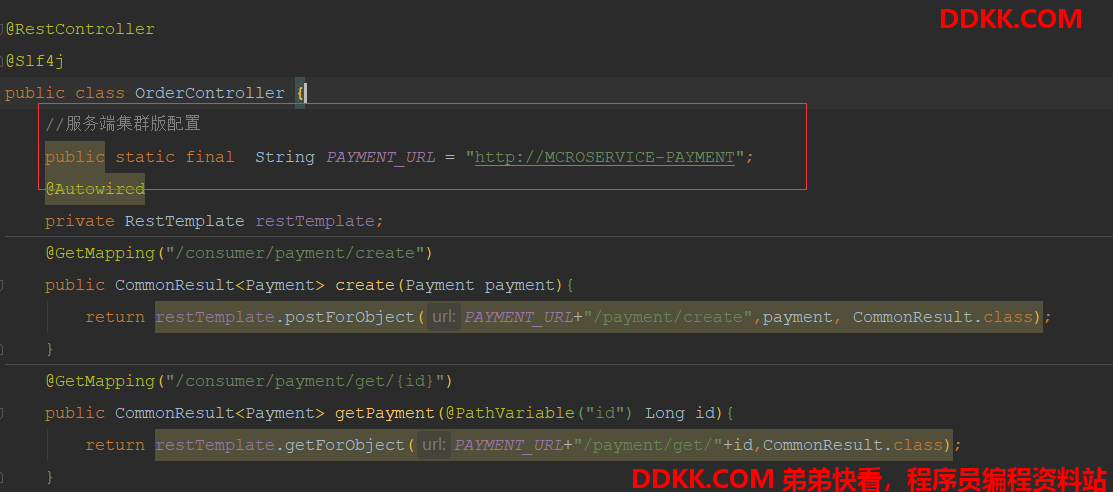
原因是在消费者服务的controller层中,我们将请求路径写死了,如下图:
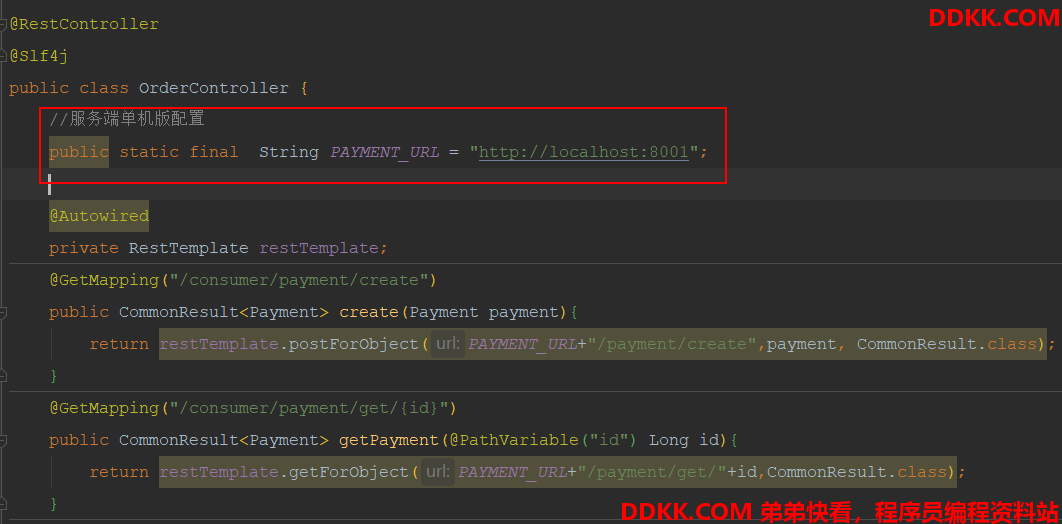
我们只需要换成生产者的服务名称就行了,如下图:
但是访问localhost/consumer/payment/get/1会出现如下报错信息:

原因是我们配置了以服务名的方式访问,但不能确定是哪一个服务。所以我们需要给restTemplate开启负载均衡,默认是轮循。只需要在restTemplate配置类中加上@LoadBalanced这个注解,该注解就是开启负载均衡的。如下图:
package com.buba.springclould.order.config;
import org.springframework.cloud.client.loadbalancer.LoadBalanced;
import org.springframework.context.annotation.Bean;
import org.springframework.context.annotation.Configuration;
import org.springframework.web.client.RestTemplate;
@Configuration
public class ApplicationContextConfig {
    @Bean
    //RestTemplate 的负载均衡能力
    @LoadBalanced
    public RestTemplate getRestTemplate(){
        return new RestTemplate();
    }
}
然后我们重启消费者服务,再次访问localhost/consumer/payment/get/1,已经开启了负载均衡,生产者的两个服务交替轮循,如下图:
我们看一下@LoadBalanced注解的源码,如下图:
/**
 * Annotation to mark a RestTemplate bean to be configured to use a LoadBalancerClient
 * @author Spencer Gibb
 */
@Target({ ElementType.FIELD, ElementType.PARAMETER, ElementType.METHOD })
@Retention(RetentionPolicy.RUNTIME)
@Documented
@Inherited
@Qualifier
public @interface LoadBalanced {
}
可以看到 @LoadBalanced是一个注解,用于标记要配置为使用LoadBalancerClient的RestTemplate bean的。那么我们再来看看 **LoadBalancerClient,**如下图:
public interface ServiceInstanceChooser {
ServiceInstance choose(String serviceId);
}
public interface LoadBalancerClient extends ServiceInstanceChooser {
<T> T execute(String serviceId, LoadBalancerRequest<T> request) throws IOException;
<T> T execute(String serviceId, ServiceInstance serviceInstance, LoadBalancerRequest<T> request) throws IOException;
URI reconstructURI(ServiceInstance instance, URI original);
}
LoadBalancerClient是一个接口,该接口中有四个方法,我们来大概看一下这几个方法的作用:
1、 ServiceInstancechoose(StringserviceId)根据传入的服务名serviceId从客户端负载均衡器中挑选一个对应服务的实例;
2、 Texecute(),使用从负载均衡器中挑选出来的服务实例来执行请求;
3、 URIreconstructURI(ServiceInstanceinstance,URIoriginal)表示为系统构建一个合适的URI,我们在SpringCloud中服务的发现与消费一文中发送请求时使用了服务的逻辑名称(http://HELLO-SERVICE/hello)而不是具体的服务地址,在reconstructURI方法中,第一个参数ServiceInstance实例是一个带有host和port的具体服务实例,第二个参数URI则是使用逻辑服务名定义为host和port的URI,而返回的URI则是通过ServiceInstance的服务实例详情拼接出的具体的host:port形式的请求地址一言以蔽之,就是把类似于http://HELLO-SERVICE/hello这种地址转为类似于http://195.124.207.128/hello地址(IP地址也可能是域名);
到这里生产者集群版搭建与实现负载均衡就完成啦!是不是so easy?