前言
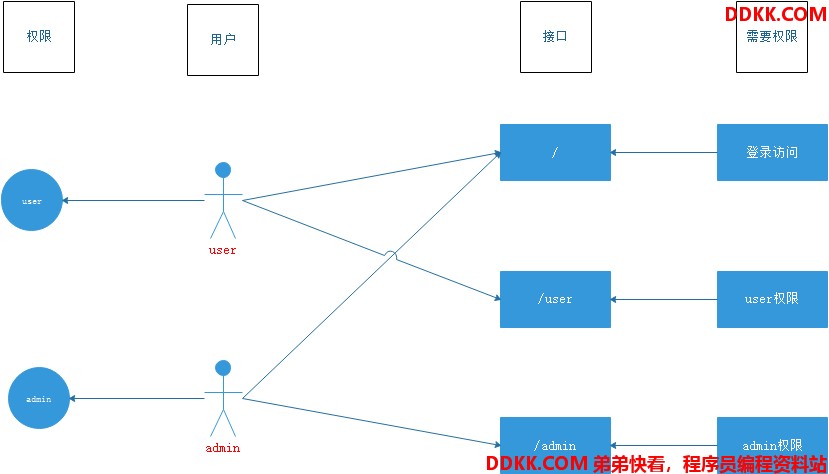
在前面已经介绍了通过注解方式配置权限,我们接着上一节继续介绍通过**内存方式配置权限*。

权限配置
访问权限
还是在SpringSecurityConfig类中通过重写父类方法进行配置
	@Override
    protected void configure(HttpSecurity http) throws Exception {
        http.formLogin();
        http.authorizeRequests()
                .antMatchers("/user").hasAuthority("user")
                .antMatchers("/admin").hasAuthority("admin")
                .anyRequest().authenticated();
    }
添加接口
在Controller当中将@PreAuthorize注解注释掉
    @GetMapping("user")
    // @PreAuthorize("hasAuthority('user')")
    public String user(){
        return "user";P
    }
    @GetMapping("admin")
    // @PreAuthorize("hasAuthority('admin')")
    public String admin(){
        return "admin";
    }
/user需要有user权限;/admin需要有admin权限
这里准备工作都已经准备好了,启动项目,进行验证
权限验证
在浏览器中访问http://localhost:8080/会自动跳转到登录页面。
验证user用户
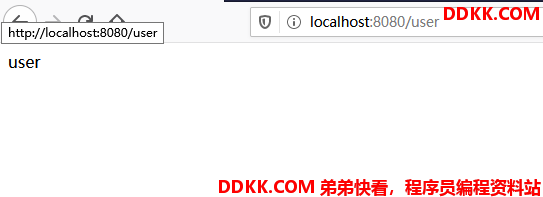
通过user用户登录,浏览器打印index。继续访问http://localhost:8080/user接口,浏览器成功打印出user。

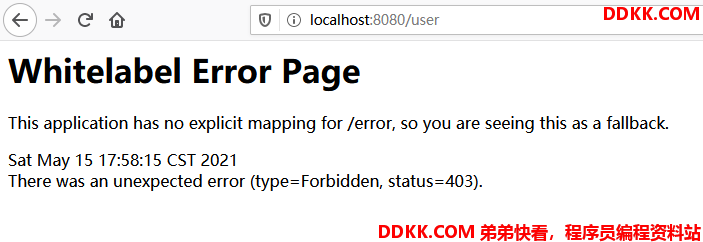
继续访问http://localhost:8080/admin接口,返回403,代表没有权限。

退出
通过http://localhost:8080/logout将user用户退出。
验证admin用户
通过admin用户登录,浏览器打印index。
继续访问http://localhost:8080/admin接口,浏览器成功打印出admin。

继续访问http://localhost:8080/user接口,返回403,代表没有权限。

做到这里,说明内存方式配置权限已经完成。