Elasticsearch安装
下载软件
Elasticserach的官网地址:https://www.elastic.co/cn
Elasticserach最新的版本已经是8.2.0(截止2022.5.8),我们选择的版本为7.8.0。在以下地址中可以选择要下载的版本:https://www.elastic.co/cn/downloads/past-releases#elasticsearch
为了学习使用这里选择简便的Windows版本。
安装
下载完之后直接解压即可。解压后的文件目录如下:

1、bin可执行的脚本文件;
2、config放置的配置文件;
3、jdkES是java开发的,所以他的安装文件中内置了JDK,当时一般我们会外挂自己的JDK程序;
4、libES的内库,放置的都是一些jar包;
5、logs日志文件;
6、modules模块文件;
7、plugins插件;
启动
其中bin文件中有一个名字为elasticsearch.bat的文件。双击就可以直接运行。运行完成之后出现控制台黑框。
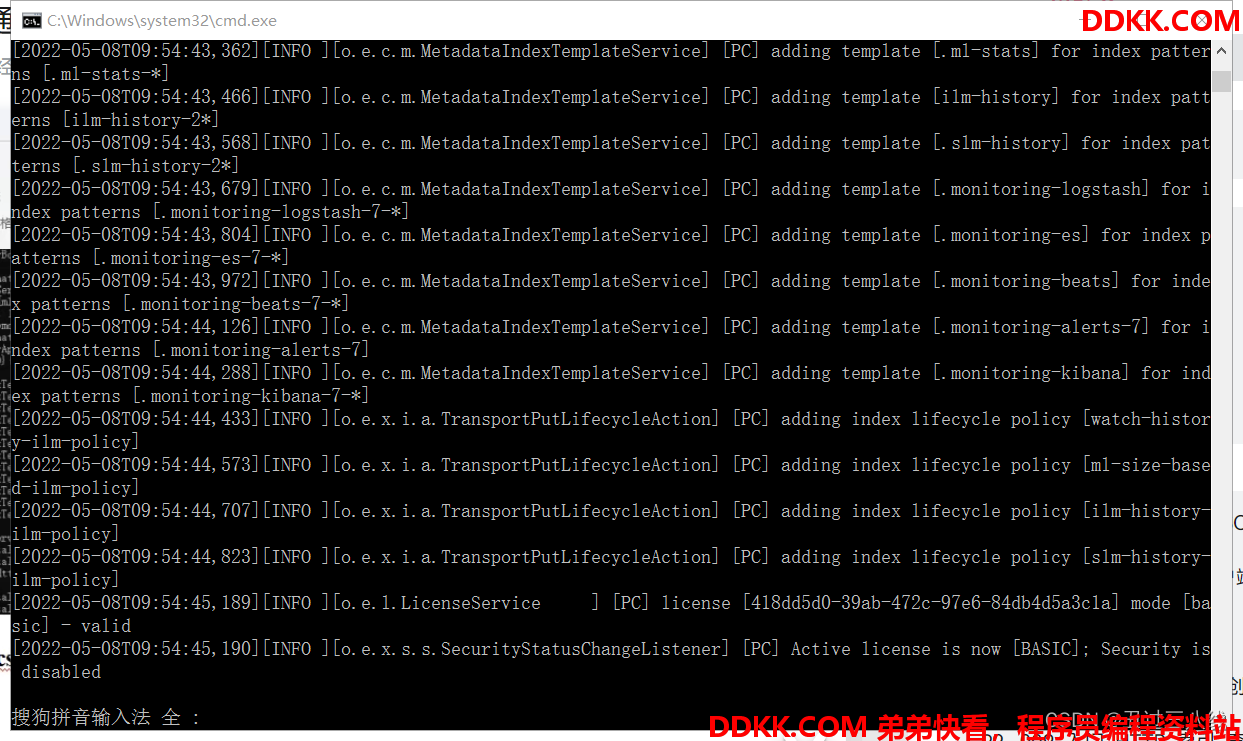
如果能正常的运行并没有退出,则表示启动成功。
ES中的端口
默认情况下ES会占用两个端口9300和9200。
1、9300端口为Elasticsearch集群间组件的通信端口;
2、9200端口为浏览器访问http协议的RESTful端口;
测试
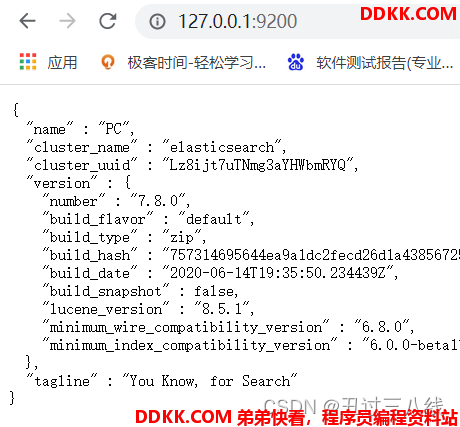
打开浏览器(推荐使用谷歌浏览器),输入地址:http://localhost:9200.如果启动成功,浏览器会呈现ES的运行信息:
启动可能存在的问题
1、 Elasticsearch是使用java开发的,且7.8版本的ES需要JDK版本1.8以上(默认应该是JDK14,如果低于14会警告),默认安装包带有JDK环境,如果系统配置了JAVA_HOME,那么使用系统默认的JDK,如果没有配置使用自带的JDK,一般建议使用系统配置的JDK;
2、 双击启动窗口闪退,通过路径访问追踪错误(首先进入到控制台后用命令运行批处理文件),如果“空间不足”,请修改config/jvm.options配置文件;
## JVM configuration
################################################################
## IMPORTANT: JVM heap size
################################################################
##
## You should always set the min and max JVM heap
## size to the same value. For example, to set
## the heap to 4 GB, set:
##
## -Xms4g
## -Xmx4g
##
## See https://www.elastic.co/guide/en/elasticsearch/reference/current/heap-size.html
## for more information
##
################################################################
# Xms represents the initial size of total heap space
# Xmx represents the maximum size of total heap space
-Xms1g
-Xmx1g
################################################################
## Expert settings
################################################################
##
## All settings below this section are considered
## expert settings. Don't tamper with them unless
## you understand what you are doing
##
################################################################
## GC configuration
8-13:-XX:+UseConcMarkSweepGC
8-13:-XX:CMSInitiatingOccupancyFraction=75
8-13:-XX:+UseCMSInitiatingOccupancyOnly
## G1GC Configuration
# NOTE: G1 GC is only supported on JDK version 10 or later
# to use G1GC, uncomment the next two lines and update the version on the
# following three lines to your version of the JDK
# 10-13:-XX:-UseConcMarkSweepGC
# 10-13:-XX:-UseCMSInitiatingOccupancyOnly
14-:-XX:+UseG1GC
14-:-XX:G1ReservePercent=25
14-:-XX:InitiatingHeapOccupancyPercent=30
## JVM temporary directory
-Djava.io.tmpdir=${ES_TMPDIR}
## heap dumps
# generate a heap dump when an allocation from the Java heap fails
# heap dumps are created in the working directory of the JVM
-XX:+HeapDumpOnOutOfMemoryError
# specify an alternative path for heap dumps; ensure the directory exists and
# has sufficient space
-XX:HeapDumpPath=data
# specify an alternative path for JVM fatal error logs
-XX:ErrorFile=logs/hs_err_pid%p.log
## JDK 8 GC logging
8:-XX:+PrintGCDetails
8:-XX:+PrintGCDateStamps
8:-XX:+PrintTenuringDistribution
8:-XX:+PrintGCApplicationStoppedTime
8:-Xloggc:logs/gc.log
8:-XX:+UseGCLogFileRotation
8:-XX:NumberOfGCLogFiles=32
8:-XX:GCLogFileSize=64m
# JDK 9+ GC logging
9-:-Xlog:gc*,gc+age=trace,safepoint:file=logs/gc.log:utctime,pid,tags:filecount=32,filesize=64m