我们将演示在 config-client 里面获取上面我们写的 2 个配置信息
1.添加一个配置文件
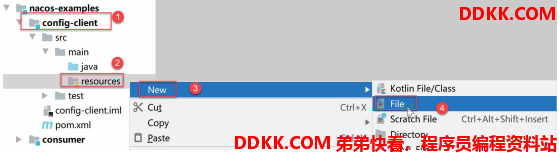
文件名称为:

- 注意:不是 application.yml ,bootstrap.yml 比 application 有更高的优先级。
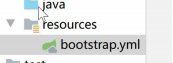
- Idea 能自动的识别该文件的格式:
编辑该文件,添加以下内容:
server:
	port: 8070
spring:
	cloud:
		nacos:
			discovery:
				server-addr: localhost:8848
			config: 指定配置中心的地址和配置中心使用的数据格式
				server-addr: localhost:8848
				file-extension: properties
	application:
		name: config-client
配置说明:
- server.port: 服务的运行端口
- spring.cloud.nacos.discovery.server-addr: 注册中心地址
- spring.cloud.nacos.config.server-addr: 配置中心地址
- spring.cloud.nacos.config.file-extension: 配置中心的配置属性的数据格式
- spring.application.name: 应用的名称
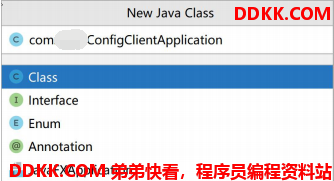
2.新建一个启动类

名称为:com.dqcgm.ConfigClientApplication
编辑该类:
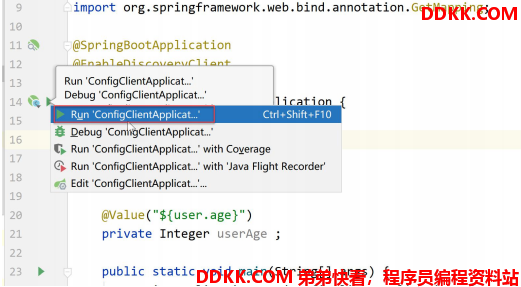
@SpringBootApplication
@EnableDiscoveryClient
@RefreshScope
@RestController
public class ConfigClientApplication {
	@Value("${user.name}")
	private String userName ;
	@Value("${user.age}")
	private Integer userAge ;
	public static void main(String[] args) {
		SpringApplication.run(ConfigClientApplication.class,args) ;
	}
	//获取配置文件里面用户的信息
	@GetMapping("/user/info")
	public ResponseEntity<String> getUser(){
		return ResponseEntity.ok(String.format("从配置中心获取的信息为:user:%s,age:%s",userName,userAge)) ;
	}
}
说明:
- @RefreshScope:代表配置文件是可以被刷新的
- @Value:从 env 里面获取配置信息
3.启动测试
在浏览器里面输入:
http://localhost:8070/user/info

效果已经完成了