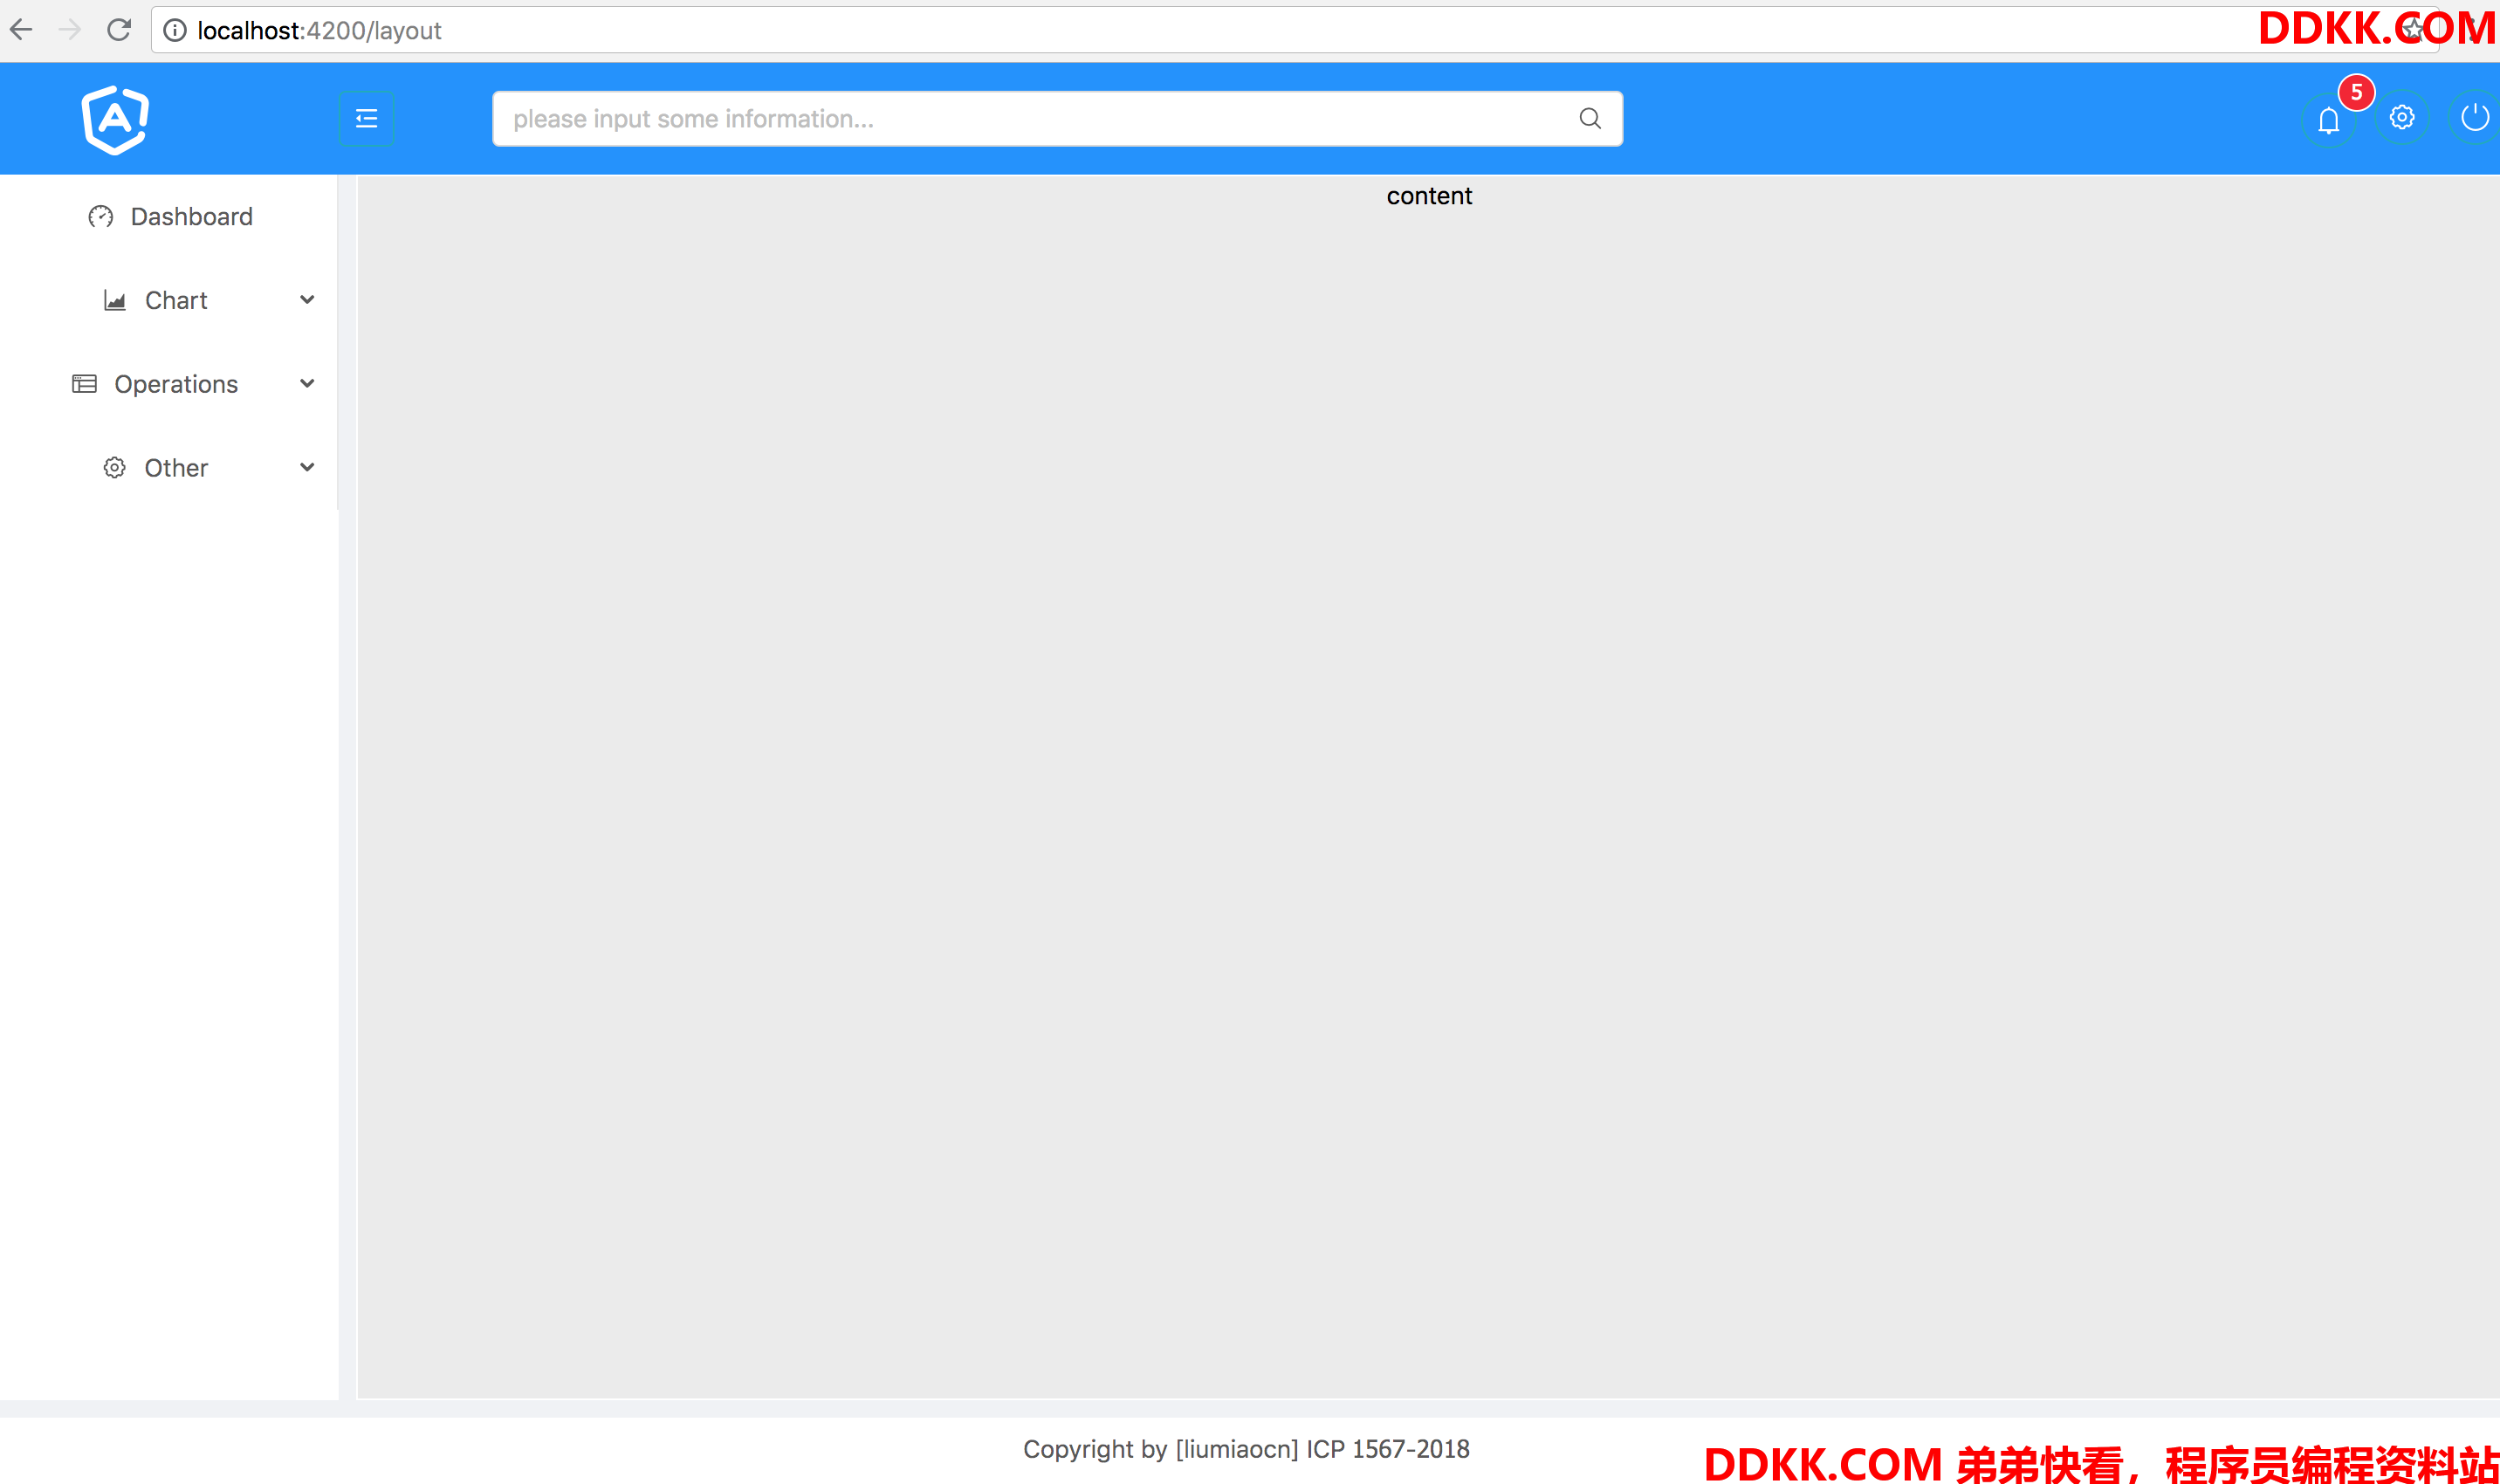
上篇文章搭建了一个页面的框架,这篇文章中将会添加路由,使得页面可以通过路由来进行控制。
Routes 和 RouterModule
路由有很多用法,最基础的是使用routes和RouterModule进行结合。先看一下如下简单的代码所能实现的功能
路由信息
在app.module.ts中添加如下一段路由信息,用于显示页面的跳转信息,因为目前只有一个页面,所以非常简单
const routes: Routes = [
  {
    path: 'layout',
    component: DefaultLayoutComponent
  },
  {
    path: '',
    component: DefaultLayoutComponent
  },
  {
    path: '**',
    component: DefaultLayoutComponent
  },
];
路由主要是将组件和用于跳转的url进行mapping
| 参数 | 说明 |
|---|---|
| path | 用于指示组件跳转的url |
| component | 实现具体功能的组件 |
| data | 用于传递路由相关的信息,一般保存诸如标题之类的静态信息 |
path在使用时有以下常见方式和注意事项
| 注意事项 | 说明 |
|---|---|
| 事项1 | path不能以/开头 |
| 事项2 | ”为空路径,空路径表示url为空时的路由跳转 |
| 事项3 | **为通配符,用于控制url和路由信息都不匹配时的做法,一般会跳到定制的404页面组件上 |
| 事项4 | 可以在path中使用诸如user/:id的方式进行id的数据传递 |
RouterModule.forRoot
在import中添加RouterModule.forRoot(routes)
forRoot声明:
static forRoot(routes: Routes, config?: ExtraOptions): ModuleWithProviders<RouterModule>;
| 参数 | 参数说明 |
|---|---|
| routes | 包含路由信息的Routes类型的变量 |
| config | 可选参数,可用来配置额外有用的信息,比如{ enableTracing: true }用来在开发环境设定路由信息的输出 |
router-outlet
router-outlet用于表示根据路由信息,在指定位置添加要加载进来的页面组件信息,比如这里我们是想将整个DefaultLayoutComponent页面组件加载进来,最简单的方式是直接在app.component.html中将添加其选择器即可
liumiaocn:app liumiao$ cat app.component.html
<router-outlet></router-outlet>
liumiaocn:app liumiao$
因为AppComponent本身也是一个组件,在框架中被自动生成的代码组到index.html里面了,所以整个关系是:index.html -> app-root -> router-outlet -> DefaultLayoutComponent
liumiaocn:src liumiao$ cat index.html
<!doctype html>
<html lang="en">
<head>
  <meta charset="utf-8">
  <title>Ng6demo</title>
  <base href="/">
  <meta name="viewport" content="width=device-width, initial-scale=1">
  <link rel="icon" type="image/x-icon" href="favicon.ico">
</head>
<body>
  <app-root></app-root>
</body>
</html>
liumiaocn:src liumiao$
页面显示
这样就可以在url使用layout或者空的url或者随便输入的url来确认最基本的路由使用方式了
