这篇文章将理解官方教程的第一个例子,在这篇文章中我们将会学到:
- 自己如何创建一个程序框架
- Angular的双向数据绑定如何使用
目标
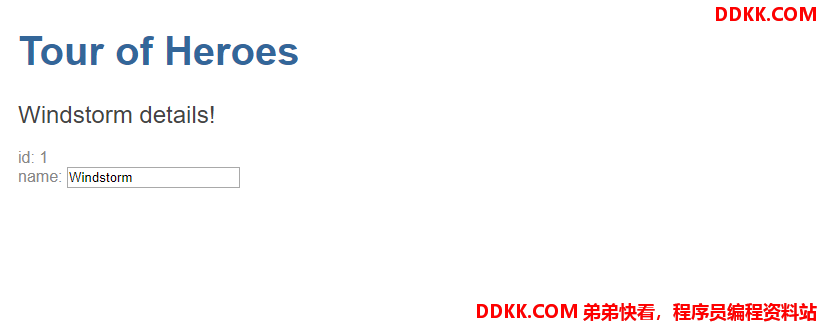
将会实现如下的页面功能,其中在输入框中输入的信息会同步显示在上面的标签中。
插值表达式
仍然使用上个例子中创建的HelloAngular项目,只需要修改如下两个文件:
/workspace/HelloAngular/src/app ls
app.component.css      app.component.html     app.component.spec.ts  app.component.ts       app.module.ts
/workspace/HelloAngular/src/app cat app.component.html
<h1>{
    {title}}</h1>
<h2>{
    {hero}} details!</h2>
/workspace/HelloAngular/src/app cat app.component.ts
import { Component } from '@angular/core';
@Component({
  selector: 'app-root',
  templateUrl: './app.component.html',
  styleUrls: ['./app.component.css']
})
export class AppComponent {
  title = 'Tour of Heroes';
  hero = 'Windstorm';
}
/workspace/HelloAngular/src/app
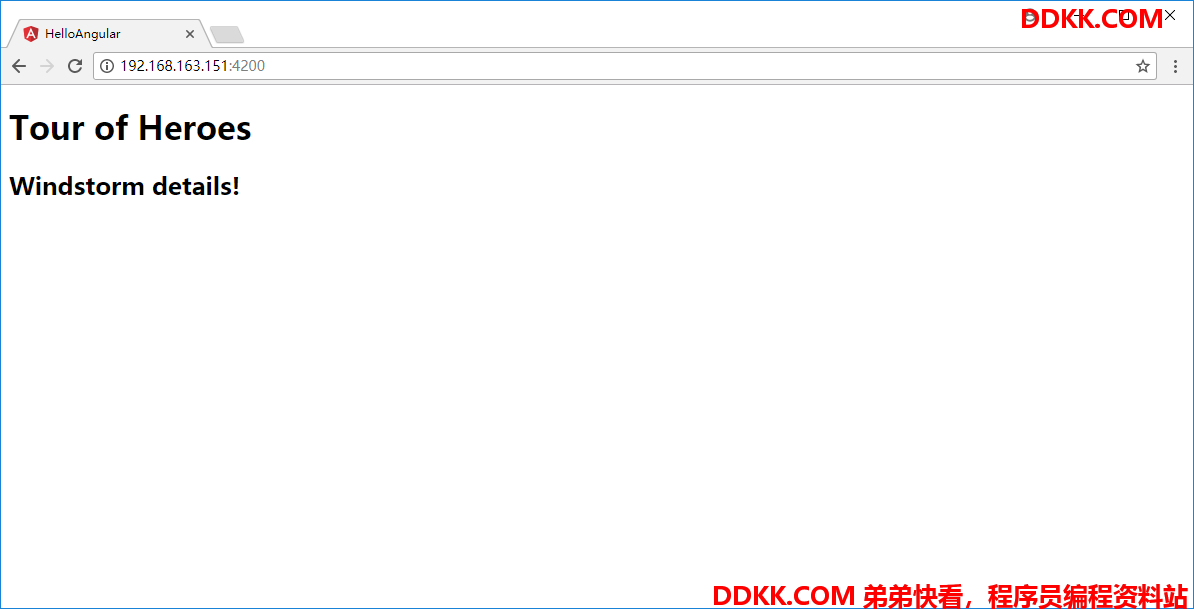
此时没有任何CSS样式,通过{ {}}的插值表达式,能够将title和hero的信息传递到了HTML模板页面。
修改CSS
修改一下CSS样式
/workspace/HelloAngular/src/app cat app.component.css
h1 {
  color:369;
  font-family: Arial, Helvetica, sans-serif;
  font-size: 250%;
}
h2, h3 {
  color:444;
  font-family: Arial, Helvetica, sans-serif;
  font-weight: lighter;
}
body {
  margin: 2em;
}
body, input[text], button {
  color:888;
  font-family: Cambria, Georgia;
}
a {
  cursor: pointer;
  cursor: hand;
}
button {
  font-family: Arial;
  background-color:eee;
  border: none;
  padding: 5px 10px;
  border-radius: 4px;
  cursor: pointer;
  cursor: hand;
}
button:hover {
  background-color:cfd8dc;
}
button:disabled {
  background-color:eee;
  color:aaa;
  cursor: auto;
}
/* Navigation link styles */
nav a {
  padding: 5px 10px;
  text-decoration: none;
  margin-right: 10px;
  margin-top: 10px;
  display: inline-block;
  background-color:eee;
  border-radius: 4px;
}
nav a:visited, a:link {
  color:607D8B;
}
nav a:hover {
  color:039be5;
  background-color:CFD8DC;
}
nav a.active {
  color:039be5;
}
/* everywhere else */
* {
  font-family: Arial, Helvetica, sans-serif;
}
/workspace/HelloAngular/src/app
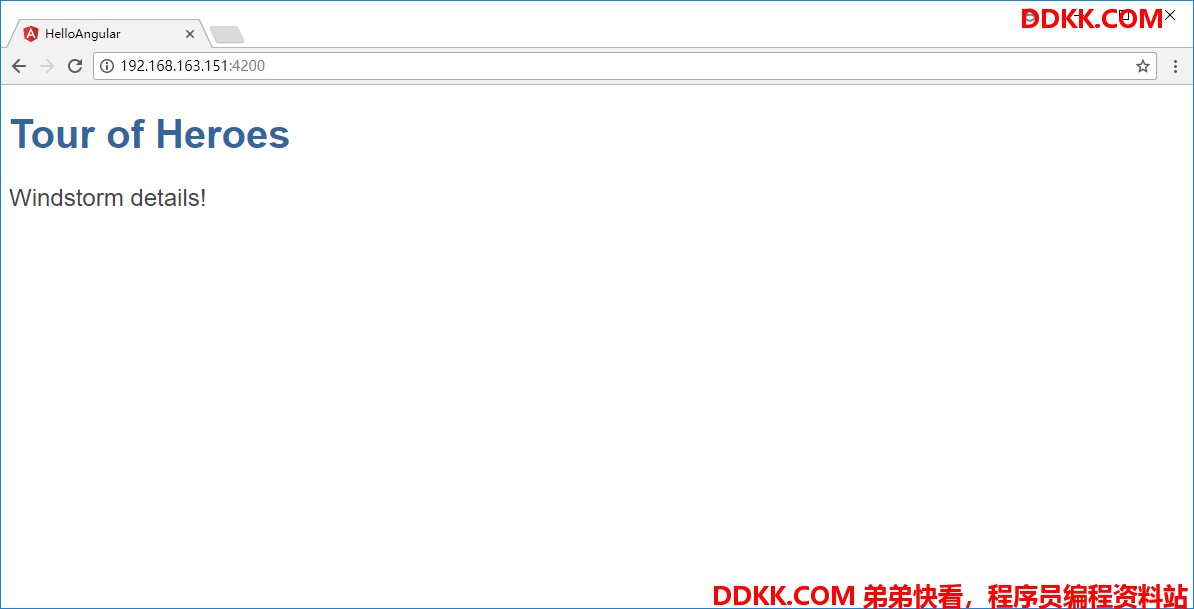
再重新刷新一下页面:
类方式的传递
插值表达式传递了普通的变量,如果是一个类,将会如何呢。我们首先在app.component.ts中添加一个Hero类,并修改其传递值得方式:
/workspace/HelloAngular/src/app cat app.component.ts
import { Component } from '@angular/core';
@Component({
  selector: 'app-root',
  templateUrl: './app.component.html',
  styleUrls: ['./app.component.css']
})
export class AppComponent {
  title = 'Tour of Heroes';
  hero: Hero = {
    id: 1,
    name: 'Windstorm'
  };
}
export class Hero {
  id: number;
  name: string;
}
/workspace/HelloAngular/src/app
然后修改HTML模板进行信息的显示
/workspace/HelloAngular/src/app cat app.component.html
  <h1>{
     {
     title}}</h1>
  <h2>{
     {
     hero.name}} details!</h2>
  <div><label>id: </label>{
     {
     hero.id}}</div>
  <div><label>name: </label>{
     {
     hero.name}}</div>
/workspace/HelloAngular/src/app
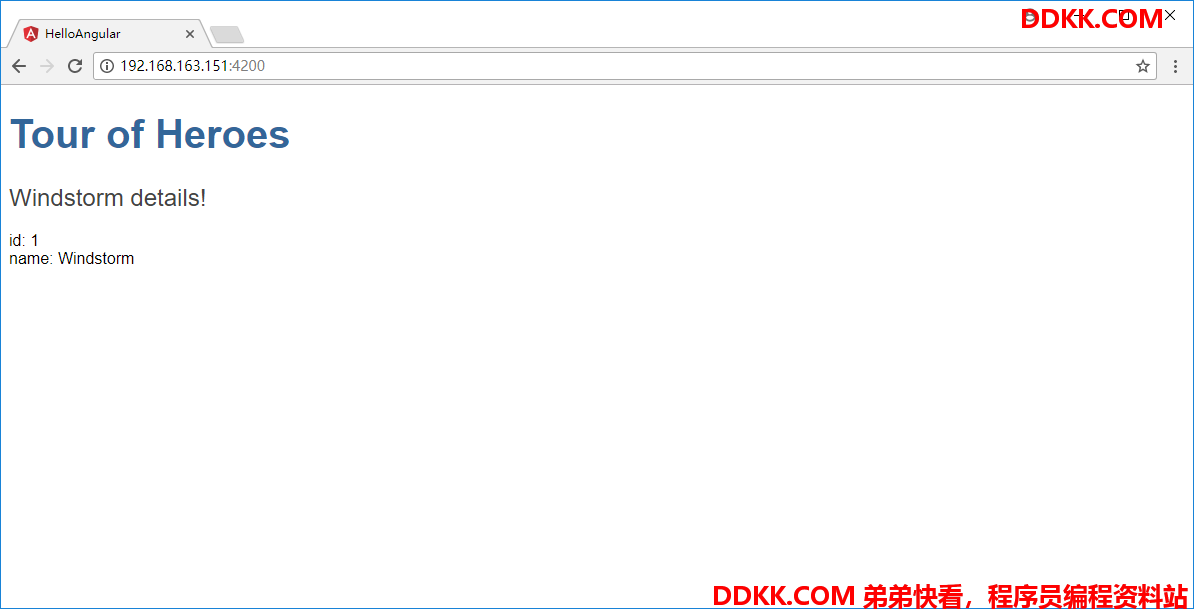
然后可以看到对象方式的数据也能在插值表达式中正常地显示
ngModole
使用ngModel进行双向数据绑定,将HTML模板进行修改:
/workspace/HelloAngular/src/app cat app.component.html
  <h1>{
     {
     title}}</h1>
  <h2>{
     {
     hero.name}} details!</h2>
  <div><label>id: </label>{
     {
     hero.id}}</div>
  <div>
       <label>name: </label>{
     {
     hero.name}}
       <input [(ngModel)]="hero.name" placeholder="name">
  </div>
/workspace/HelloAngular/src/app
因为其使用到了FormsModule所以需要将其在app.module.ts中进行import
/workspace/HelloAngular/src/app cat app.module.ts
import { BrowserModule } from '@angular/platform-browser';
import { NgModule } from '@angular/core';
import { FormsModule } from '@angular/forms';
import { AppComponent } from './app.component';
@NgModule({
  declarations: [
    AppComponent
  ],
  imports: [
    BrowserModule,
    FormsModule
  ],
  providers: [],
  bootstrap: [AppComponent]
})
export class AppModule { }
/workspace/HelloAngular/src/app
结果确认
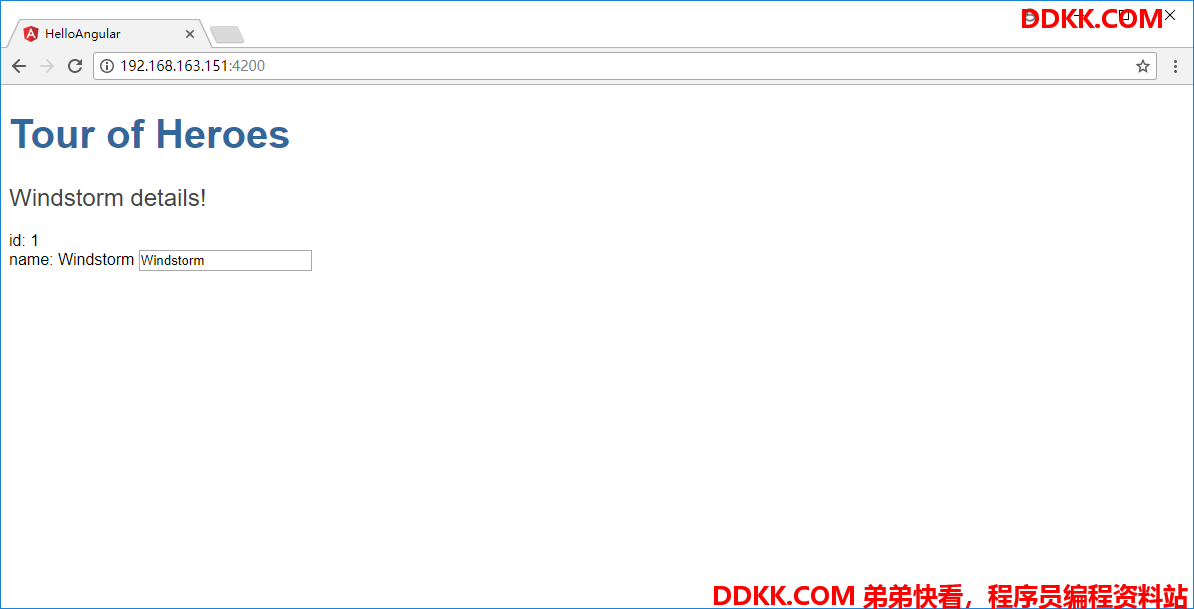
如果修改文本框中hero的名字,信息则会跟着一起改变,比如改成liumiaocn
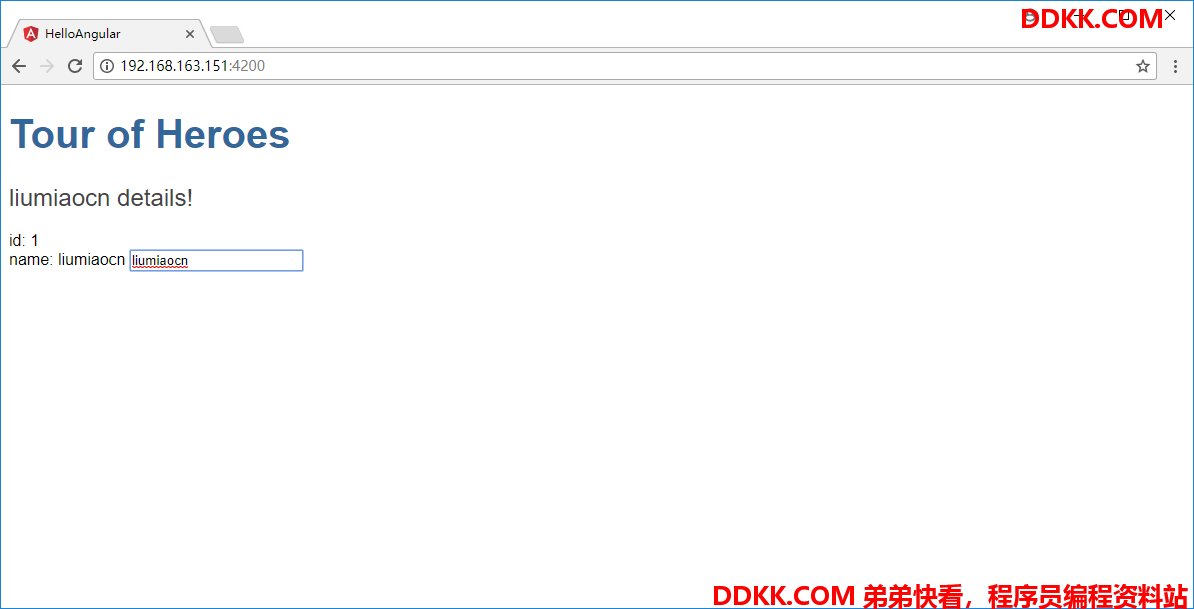
这就是一个很普通的ngModel做到的事情。
总结
这篇文章中,我们复习了插值表达式的写法以及使用对象如何进行传值,同时学习了数据绑定的用法。